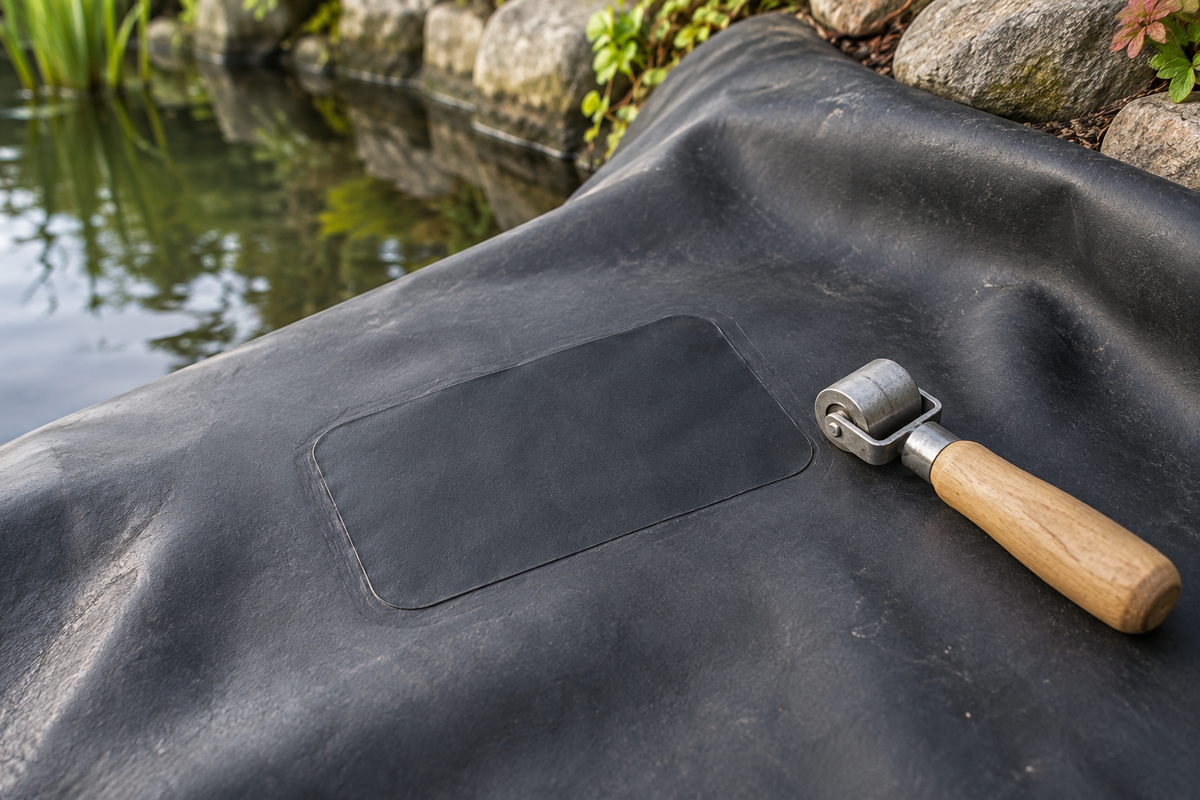
A small puncture in an EPDM liner does not necessarily condemn a pond. This membrane can be repaired with a compatible system, provided the area is accessible, properly prepared, and sufficiently sound around the defect.
The choice of patch matters, but the preparation matters just as much. A successful repair relies on an identified substrate, a clean and dry surface, a suitable primer, and installation in accordance with the instructions. Here is how to organize the work and identify situations that require more significant intervention.

Confirm the source of the leak before preparing to bond
Water loss can come from a waterfall, a fitting, or an edge that is too low. Before purchasing a kit, locate the defect. Measure the level and inspect the circuit components to distinguish a membrane puncture from a problem located elsewhere.
Photograph the area and observe how it functions. A small cut on a flat section is not treated the same way as a tear in a fold under tension, a defect around a drain, or a seam that is peeling over a long distance.
If the liner lifts or if water appears underneath it, have the situation examined before draining further. Aquascape notes that external water, especially after rain, can exert pressure under the membrane. Piercing the liner to drain this water would create a new problem.
Verify that the membrane is indeed EPDM
Find the purchase reference, invoice, or construction file. The black appearance of a liner is not enough to identify its material. PVC, polyethylene, and EPDM use different methods and accessories.
A pond membrane must also be suitable for this use and the presence of aquatic life. Elevate, for example, presents PondGard as an EPDM designed for decorative ponds, with assembly and repair accessories specific to the system.
When the reference remains unknown, bring photos and available information to a specialist. Avoid multiple attempts at gluing the leak: residue can make subsequent preparation more difficult.
Repair a small puncture or have a detail repaired?
| Observed state | Approach to consider |
|---|---|
| Small localized defect on a sound and flat membrane | Compatible repair patch, if the dimensions and overlap are suitable |
| Tear that extends or area under tension | Identify and correct the stress before defining the repair |
| Leak at the edge of a flange or penetration | Check the assembly, seals, and substrate |
| Seam detached over a significant length | Have the seam repair method checked |
| Numerous damaged areas | Compare an extensive repair with a waterproofing renovation |
The size of the patch must allow for adhesion over the entire required peripheral area. As an example, the QuickSeam Repair Kit datasheet describes a precise kit for damage up to 10 mm. This limit belongs to this kit; it does not automatically apply to other accessories.
Choose a coherent set of products
On Aquishop, the 180 × 230 mm OaseFol Flashing is presented as a repair patch for OaseFol EPDM. The datasheet indicates the prior use of OaseFol Primer. Verify the exact compatibility with your membrane and the method before ordering.

The QuickPrime Plus belongs to another set of preparation products, intended in particular for QuickSeam accessories. Its trade name and packaging must match the documentation of the chosen system.
Do not replace a primer with a standard degreaser. A contact adhesive intended to fix a membrane to a substrate does not necessarily ensure the watertightness of a puncture. Similarly, a seam tape between two liner sheets is not always the right patch for a surface repair.
Prepare the site without reflexively emptying the entire pond
When the defect is near the surface, a limited lowering of the water level may be enough to clear the work area. Nevertheless, conditions suitable for fish must be maintained, and the necessary functions of the installation must be preserved. A deep or rapid leak requires specific organization.
Prepare the tools before starting: clean cloths, designated cleaning accessory, primer, compatible patch, appropriate scissors, seam roller, and protections indicated by the products. Place them on a stable surface, out of the water.
Choose a period that allows you to work under the prescribed conditions. Rain, condensation, or a surface that is still damp can compromise adhesion. Preparation instructions also specify product storage and temperature conditions.
Step 1: clear and clean the area
Gently remove dirt and deposits around the defect. Work on an area larger than the future patch to avoid bringing impurities onto the prepared part.
Then follow the cleaning process planned by the manufacturer. The QuickPrime Plus datasheet requires a dry, clean substrate free of oil, grease, and other contaminants. Some old glue residue may require special preparation.
Inspect the membrane after cleaning. If a stone or sharp object remains pressing against it from behind, the stress must be corrected. A patch glued on top will not eliminate this contact.
Step 2: prepare the patch and apply the primer
Position the patch "dry" to verify that it covers the defect with the required margin without landing on a relief that is difficult to treat. Mark its location. Adjust its shape only according to the system's recommendations; some procedures provide for rounded corners.
Mix and apply the primer as indicated, with the intended tool. An uneven layer or a buildup of product does not replace proper preparation. Keep the area clean throughout the operation.
Wait for the required drying time and use the control criterion described in the instructions. The time varies with conditions. A delay announced as an indication is not enough if the product remains in a state incompatible with installation.
Step 3: apply and roll
Remove the adhesive backing gradually and place the patch on the prepared area, without trapping any folds. Avoid pulling on the membrane to artificially flatten it: it must maintain a stable position after the repair.
Rolling consists of exerting pressure with the appropriate roller to obtain the expected contact between the surfaces. Follow the direction and intensity indicated by the manufacturer, paying attention to the edges of the patch.
Visually check the perimeter. A lifted edge, a contaminated area, or a fold passing through the repair must be treated according to the procedure before refilling. Randomly adding sealant to a defective installation may only mask the problem.
Step 4: refill and check the result
Follow the instructions for restarting the system used. There is no universal time limit valid for all tapes, sealants, and primers. Record the references and the date of the intervention.
Then raise the level in a controlled manner, taking into account the fish and the characteristics of the added water. Mark the level and observe the evolution. Gradually put the circuits back into operation to distinguish the repaired area from any other possible loss.
A photo of the repair before covering is useful for future maintenance. Also, keep the location on a small diagram of the pond, especially if the area will be hidden under stones or plantings.
When to entrust the repair to a professional?
A leak near a bottom drain, under masonry work, in a complex junction, or over a large area deserves a specialized diagnosis. This is also the case when the level drops rapidly or when maintaining the fish becomes difficult.
Aquiflor can help you choose the equipment in store and point you towards independent partners for practical intervention. Prepare photos, the dimensions of the damage, and the reference of the liner: these elements allow for the discussion of a concrete solution.
Prepare the right accessories
Identify your membrane, measure the area to be covered, and check the instructions for the chosen system before purchasing.
See the OaseFol Flashing →
See the associated OaseFol Primer →
Sources
- Elevate — PondGard EPDM: uses and repairability of the system.
- Elevate — QuickSeam Repair Kit technical datasheet: preparation and method for this kit.
- Elevate — PondGard design and installation guide: installation conditions and assemblies.
- Aquascape — Water under a membrane: external water pressure.
- Aquishop datasheets for OaseFol Flashing, OaseFol Primer, and QuickPrime Plus: products and preparation.
- Aquiflor — Leak in a pond: support and guidance.